
I recently conducted an experiment for 3 days to discover the secret to setting thick creamy curd at home .
The challenge was to use toned milk to set the curd without compromising on thickness and texture , because using full cream milk / buffalo milk / milk powder or malai with all the extra fat wouldn’t serve the purpose of making healthy low calorie curd at home .
I have been using store bought curd for last 5 years (since I got married ) but now I wanted to convert .
So I asked this question on my favourite Facebook food group : Chef At Large , and was overwhelmed with the amazing response by the brilliant home-chefs there.(Special mention of Madhu Chawla ji , who demonstrated her method with pictures )
Here is the post : (Click on the image to have a read )

I had been trying to set curd for 2 days before I asked this on the above mentioned forum .
Here are my 3 experiments and the results with possible reasoning.
Experiment Number 1 :
I took 500 ml toned milk from tetrapack , boiled it well , let it cool to reach a warm temperature and added 2 tablespoon of store bought curd as starter . I then kept it in a closed oven (preheated at 200 Celsius) and let it stay undisturbed overnight . I used a Stainless Steel utensil.
Result : No curd AT ALL.
Possible Reason For Failure :
- Milk was hot . I didn’t do the finger test to confirm the temperature.
- I didn’t whisk the starter curd in the milk , so the starter curd lumps were found in milk as it is in the morning .
- The oven did not cool enough before I put my utensil in it .
Experiment Number 2 :
I was too disheartened by my previous failure so this time I took 250 ml of toned milk from a tetrapack.I boiled it well . Then I let it come to lukewarm temperature. I tested it by putting a finger in it ,ideally it should be warm enough that you can insert your finger and keep for a few seconds but don’t feel the burn. It should not be too cool .
Then I added 2 teaspoon (not tablespoon) of store bought curd to it and whisked well .
I let it set in a closed oven in a stainless steel utensil overnight . (I did not preheat the oven this time, and it was switched off through out , the room temperature was 24 degree)
Result : Curd set ! Yippee . Decent but not very thick. 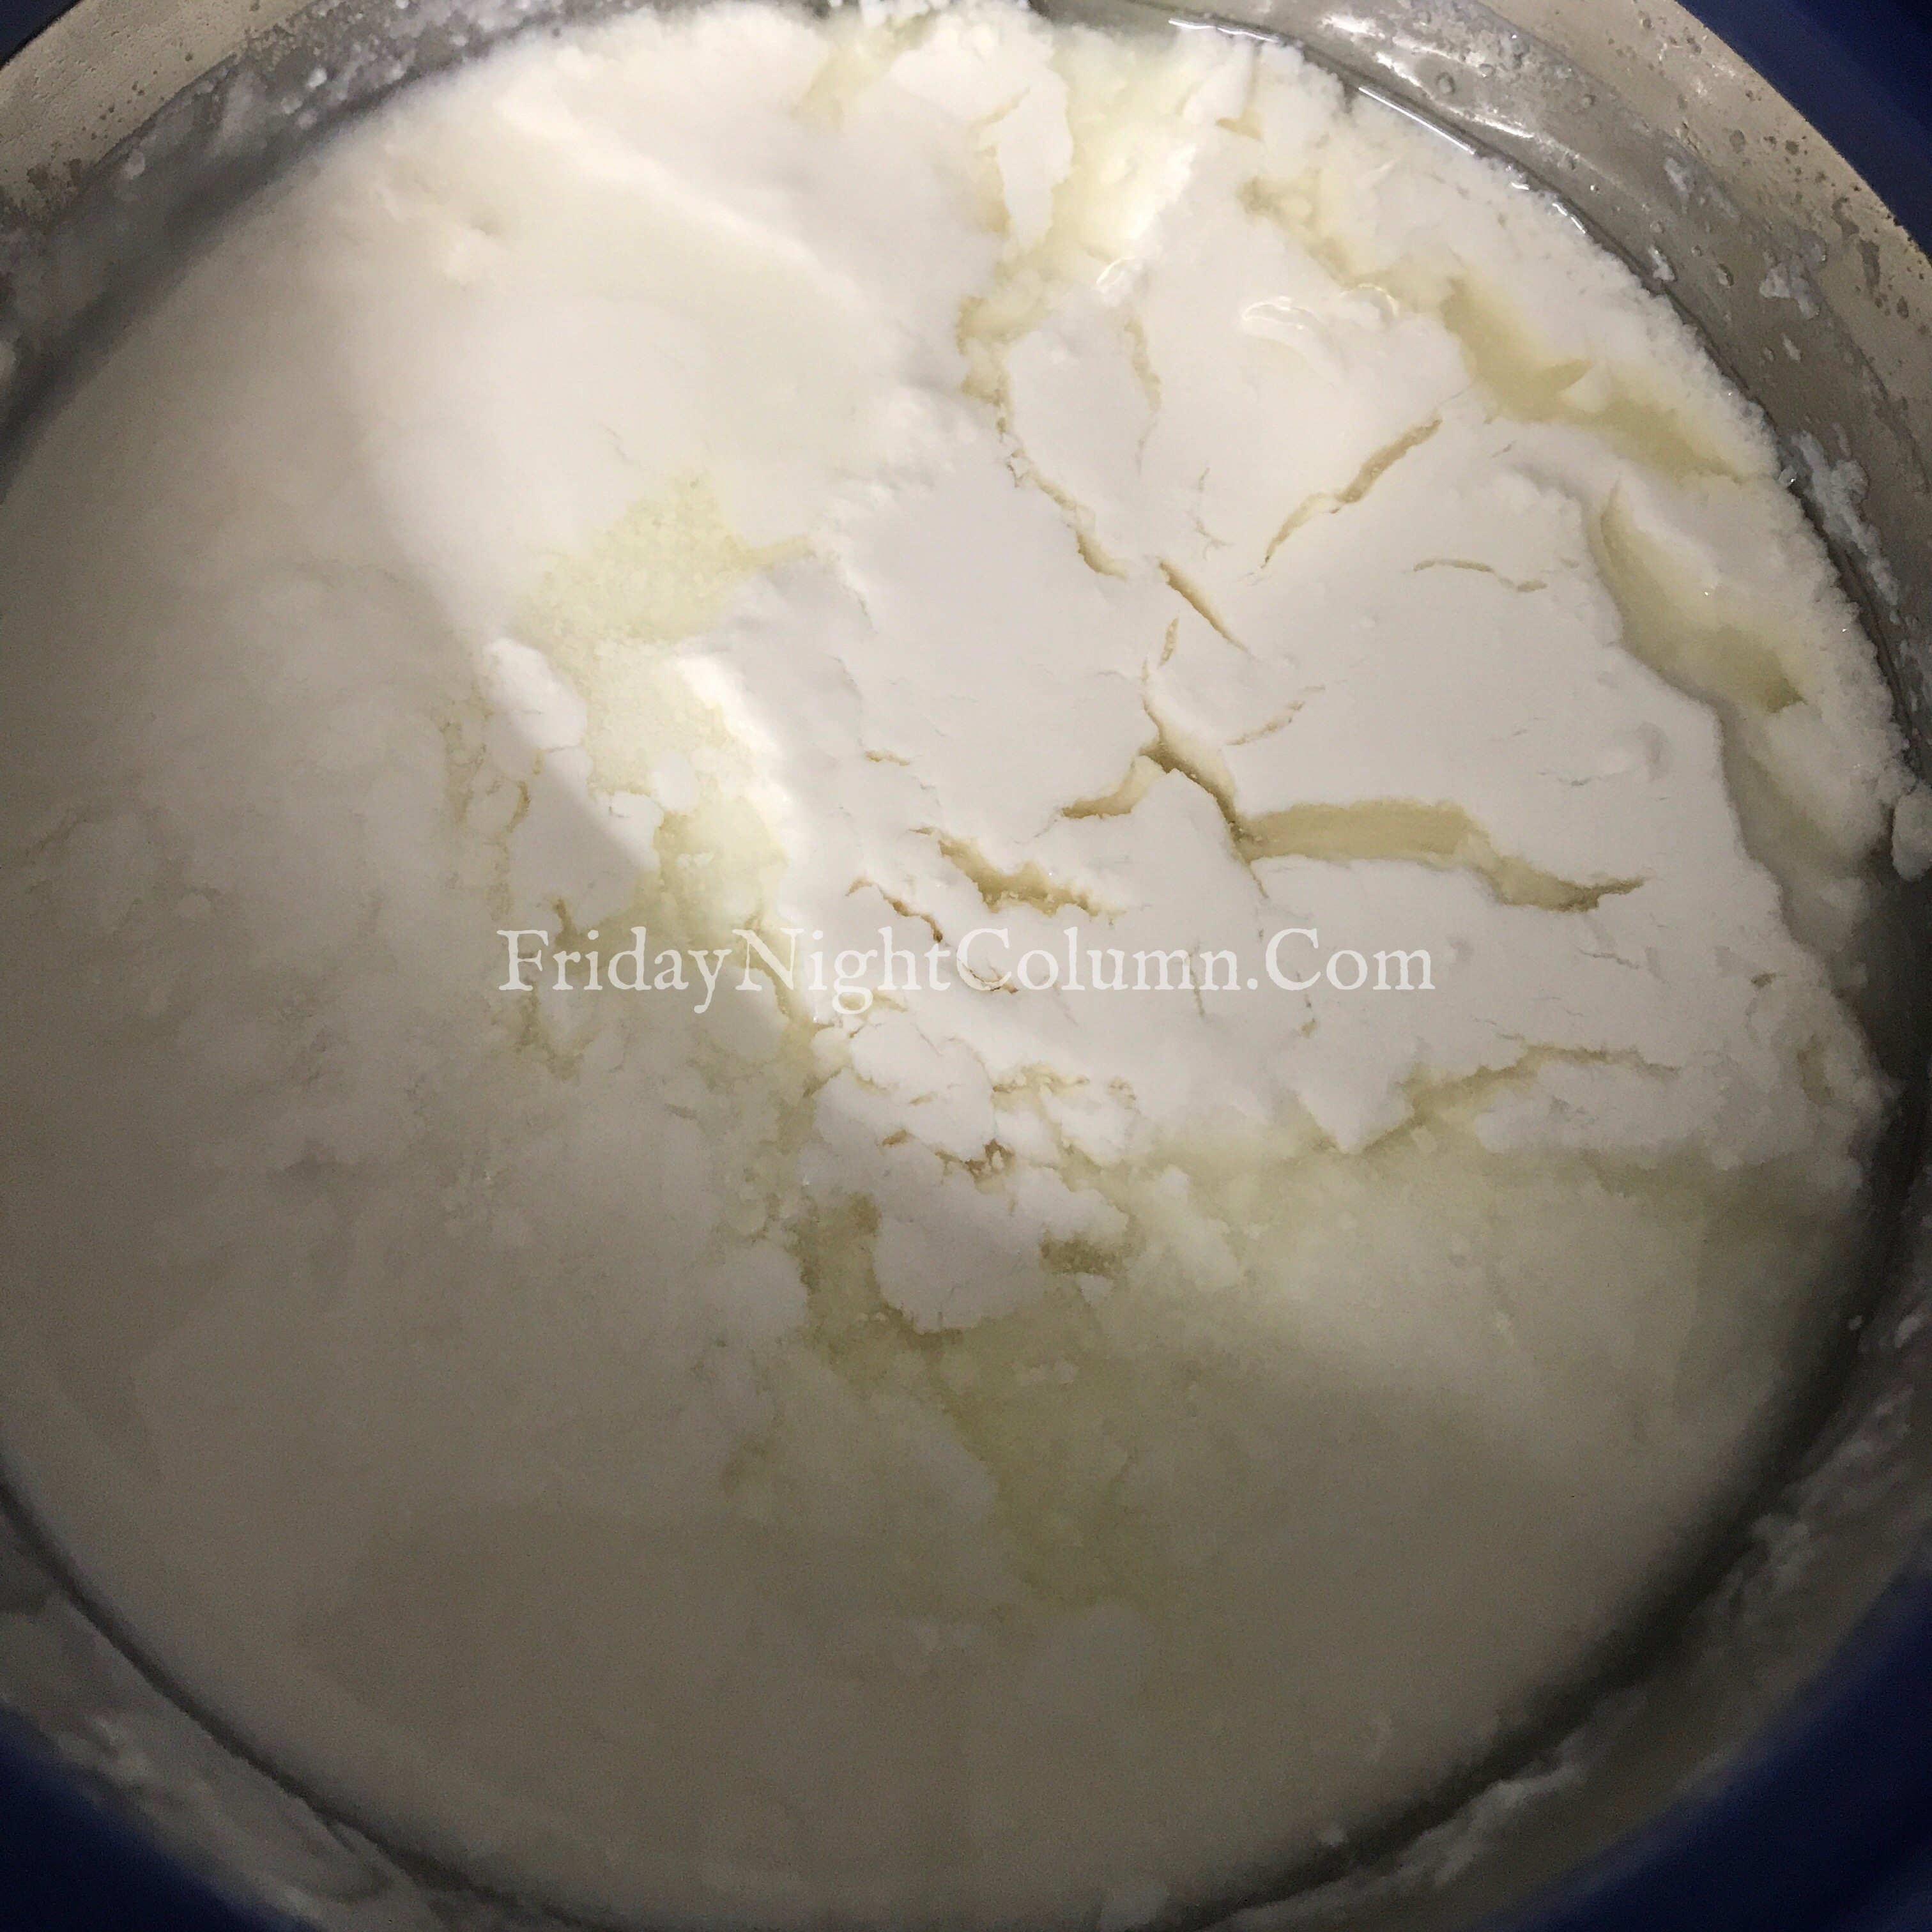
What changes did I do this time :
- Finger test to confirm temperature
- Decreased starter to 2 teaspoon
- Whisked the curd starter well in the milk
- Did not preheat the oven.
Final Experiment Number 3 (after members of Chef At Large helped) :
- I took 500 ml of toned milk from a tetrapack . Then I boiled it well . Along side I took 3 tablespoons of homemade starter curd and whisked it into a paste in a katori and kept it aside to come to room temperature .
- After the milk got boiled a few times , I let it cool and around 40 minutes later , it came to a lukewarm temperature where my finger when inserted for 10 seconds felt warm but not burnt.
- To this I added the whisked starter curd and whisked the milk – starter mix well. I also shuffled this mix using two containers by letting it flow from a height to the other vessel.I repeated this shuffling 2-3 times.
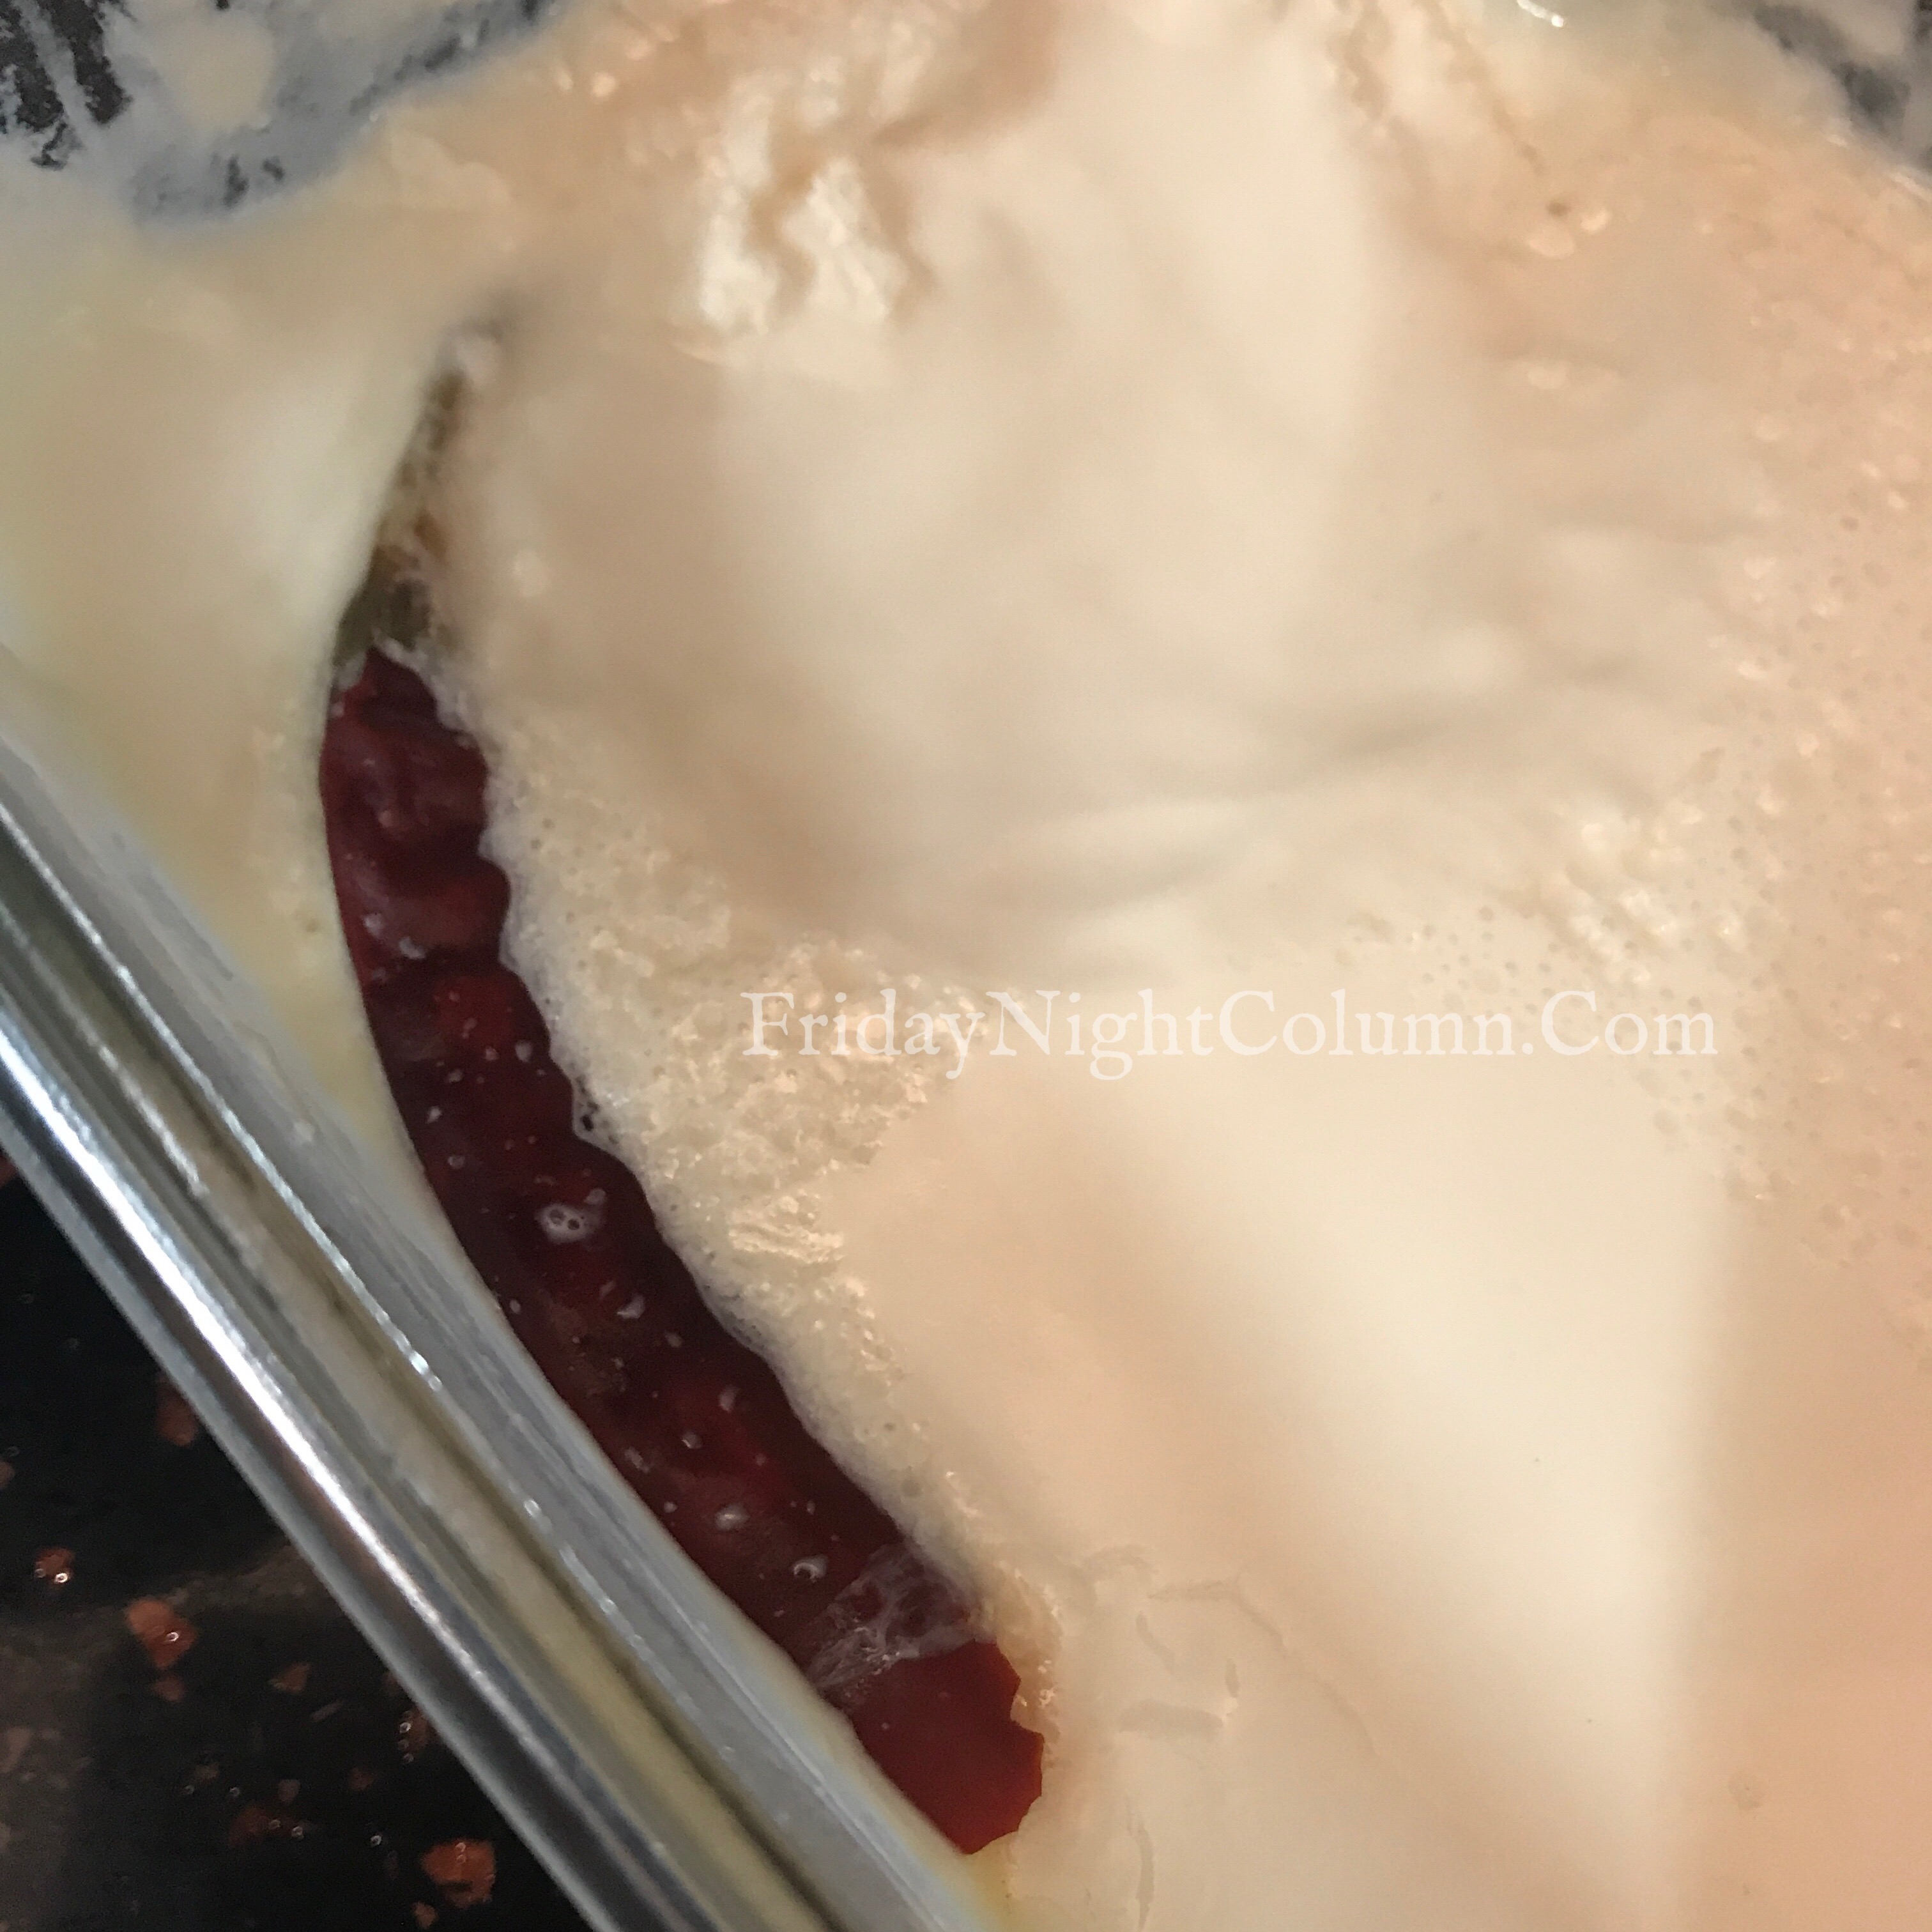
- I poured this in a borosil glass utensil and put a dried red chilli with stem in it .
- I kept this loosely covered with a lid in a switched off closed oven (which was NOT preheated) and let it stay there undisturbed overnight .
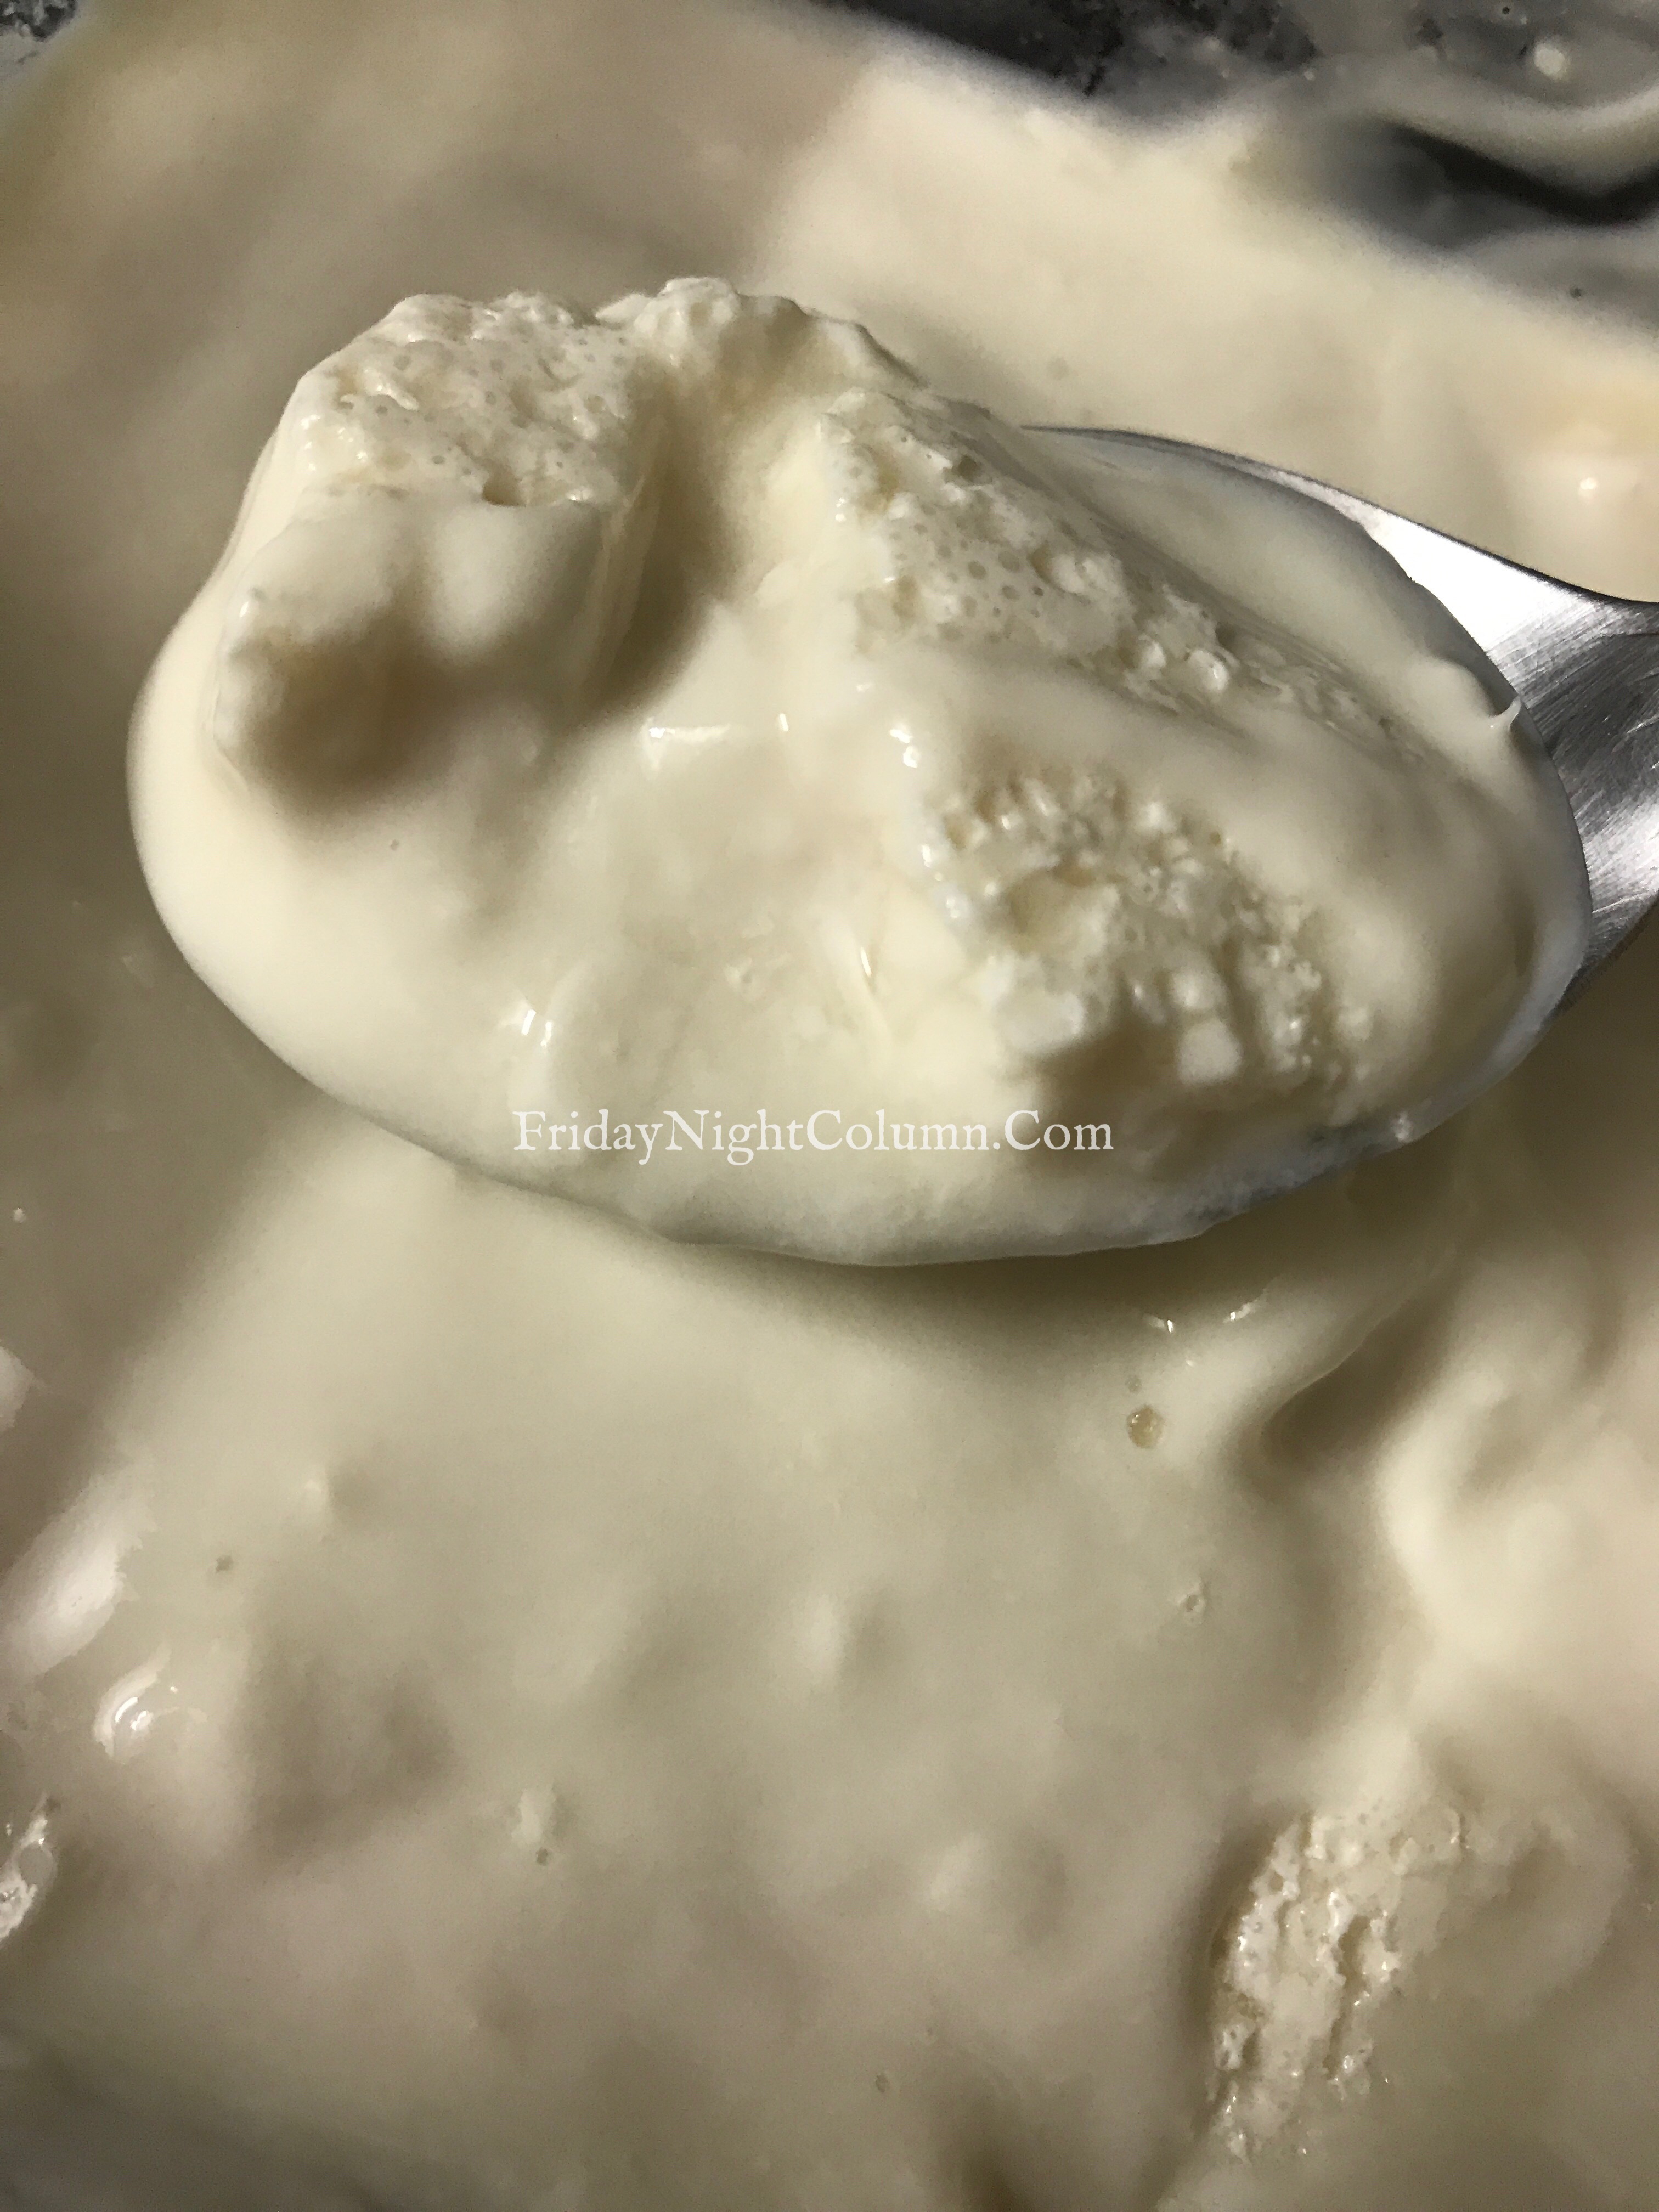
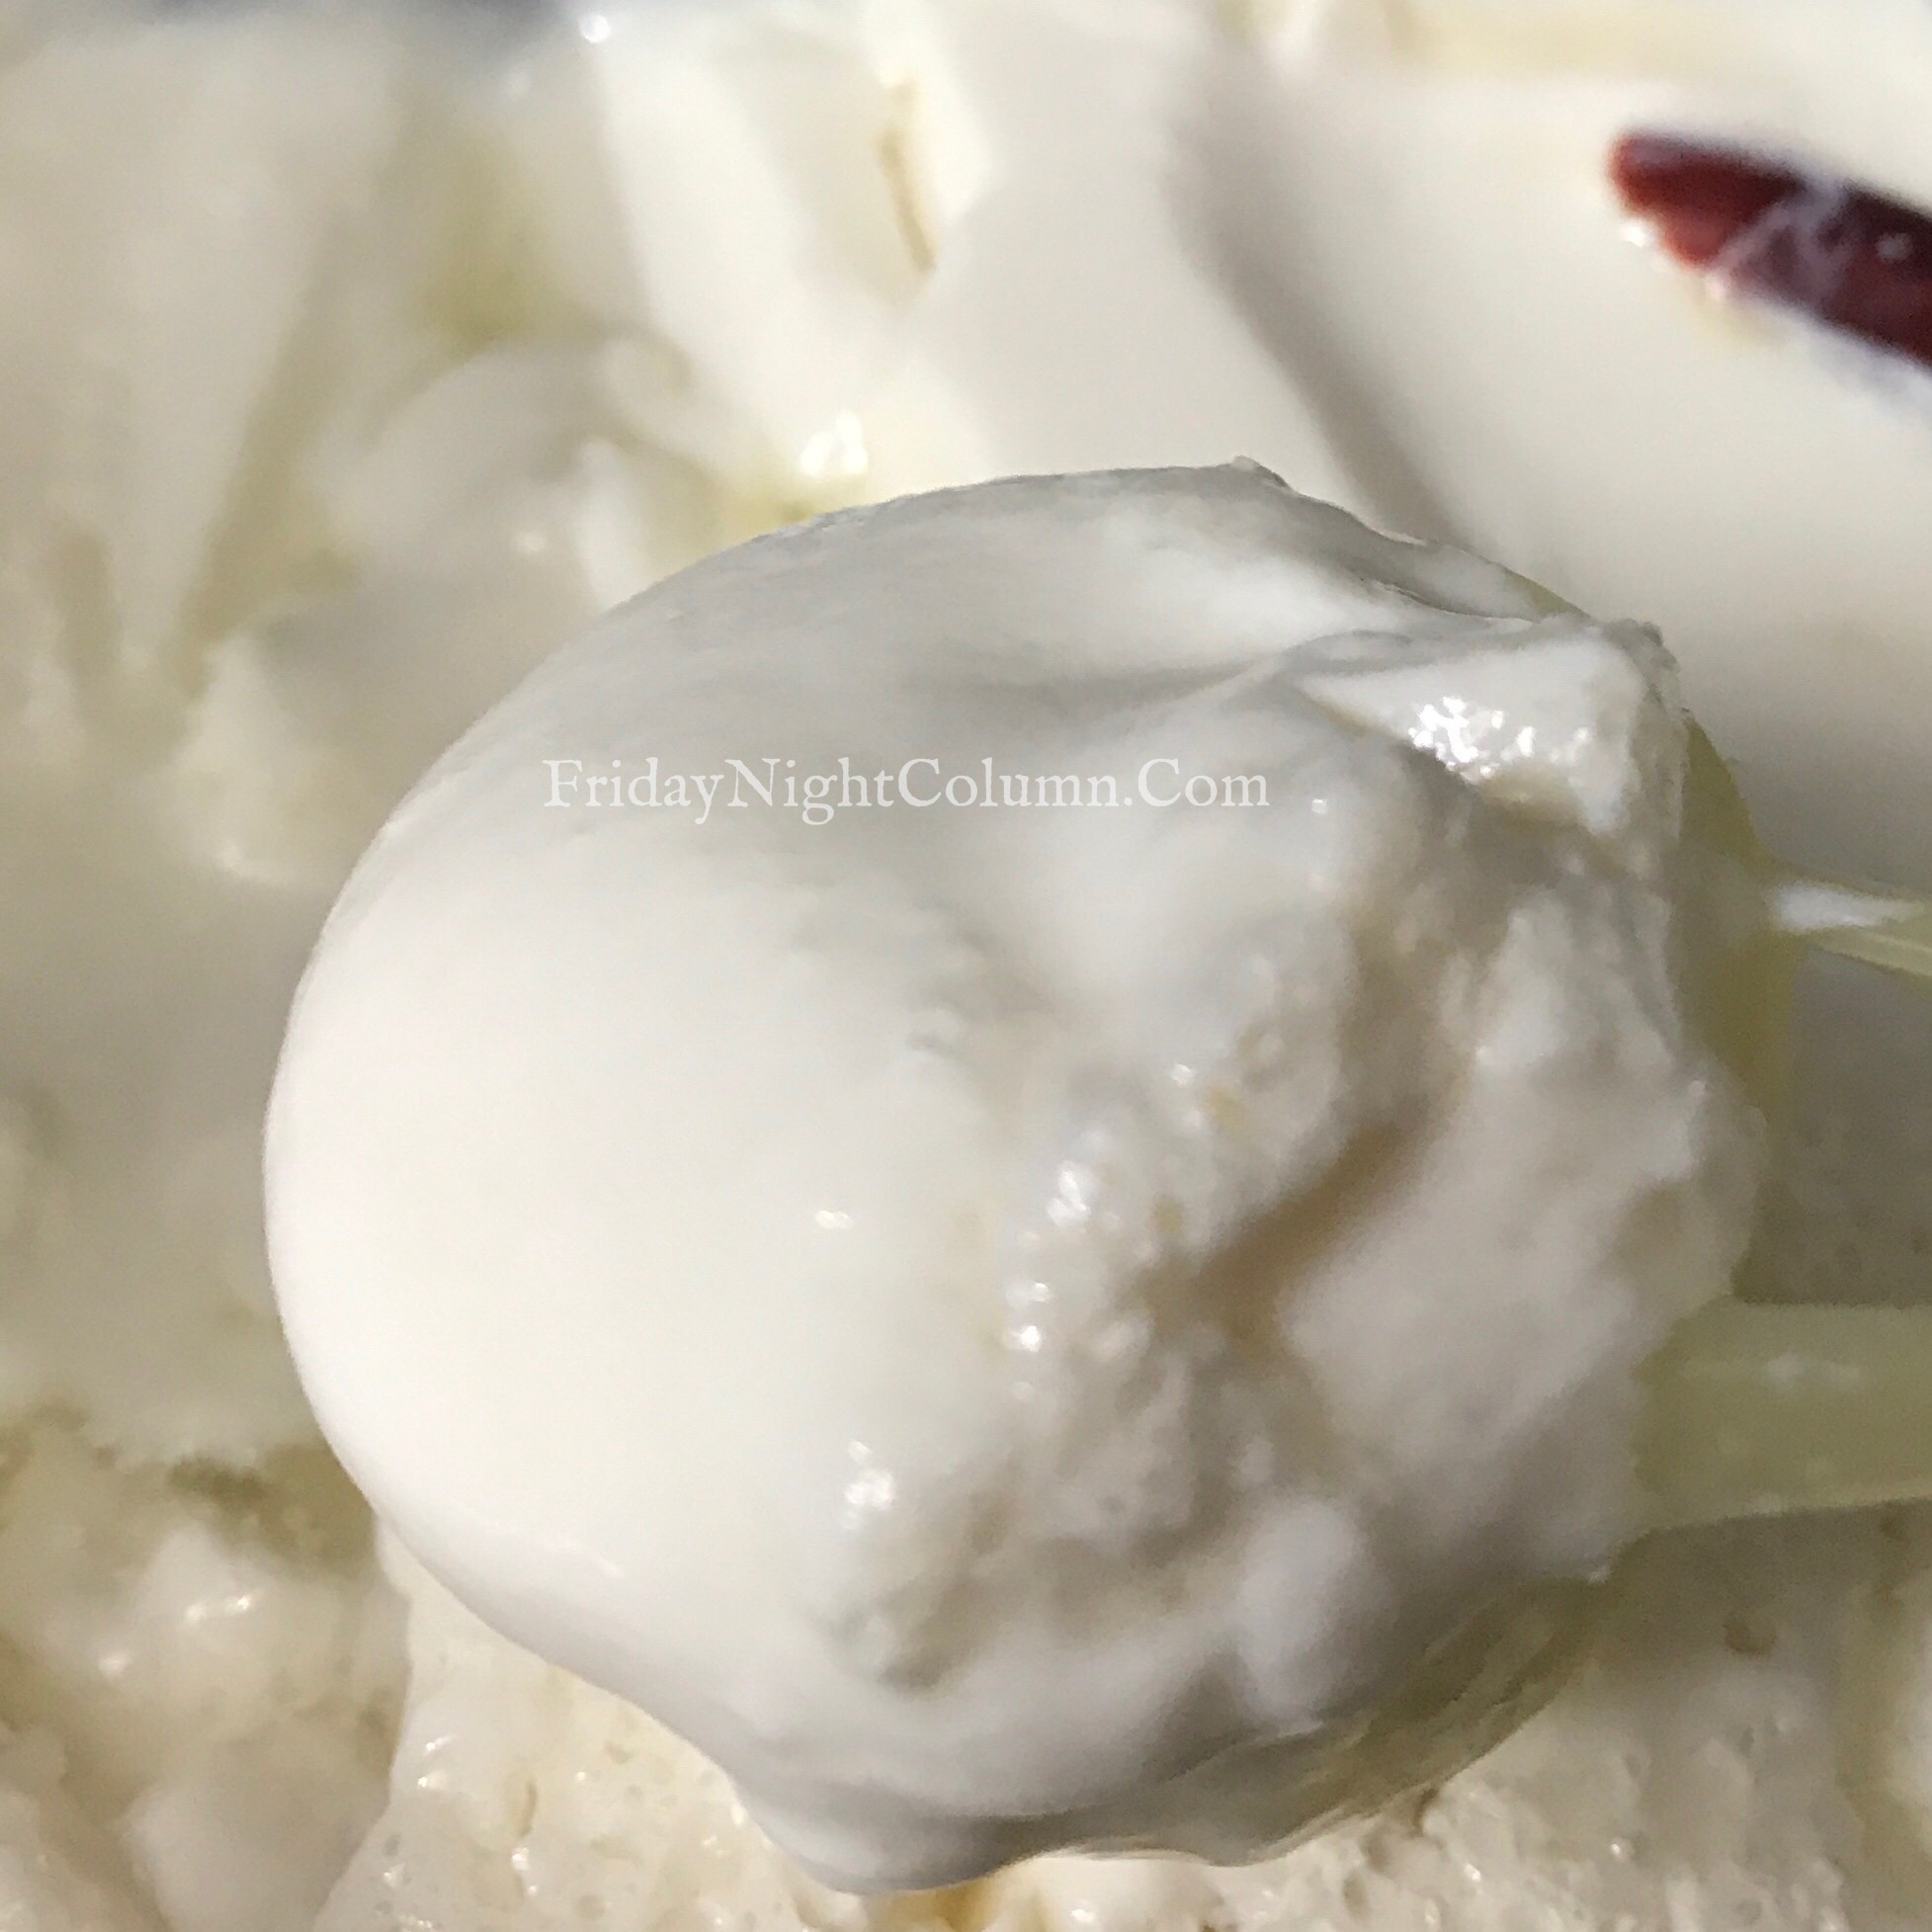
Result : Perfect Thick Creamy Curd is Ready! I then shifted it to the refrigerator for later use .
It was Creamy , smooth almost like an ice cream.
P.S : The bubbles on the surface are due to the extensive whisking I did.

What went right this time ? My observations :
- The milk should be thoroughly boiled to evaporate excess water , specially when using toned milk .
- The perfect temperature when starter should be added , checked thoroughly using finger . Not too hot : it may murder the bacteria of starter . Not too cold : the starter won’t flourish . Warm enough to insert the finger and feel warmth but not get burnt.
- Homemade starter is better . But this method works even with store bought one .
- Make a paste of starter by whisking it before adding so that it easily gets distributed in the milk.
- Whisk the milk with starter and thoroughly mix the milk using two containers/glasses and pouring from a little height .
- Use a glass / stainless steel / clay pot.
- Keep a dried red chilli with stem on top. It helps in building up the starter . Many people use only chilli to make curd when they don’t have a starter .
- Leave the vessel undisturbed at a warm place .
- If making in winters , preheating oven may help but then wait for it to become warm from hot , which may take few minutes . Don’t put immediately after preheating . You can alternatively use casserole / warm cloth to cover the vessel.
Credits for invaluable inputs :
- Chef At Large and its members : Madhu Chawla ji , Tanimaa Mehra Ji , Sujata Shukla Ji , Manasi Kulkarni ji , Jayanthi Narayan ji , Rashmi Shah ji , Shikha Grover Ji , Nivedita Jamsudkar Ji , Subhalaxmi ji, Chinki Bhatia Ji , Dipali Agrawal Ji and all others who took the time and effort to help me .
Pin it for later : https://pin.it/-Y2LNfD

Liked this article? Do share and spread the love.
For more articles : Sign Up/ follow Friday Night Column on Facebook , Click Here!

very useful. Thank you.
LikeLike
My pleasure .
LikeLike